Let me begin by saying, I like things that do what they are supposed to do. You can keep the bells and whistles. That being said, I do not have a problem with using beta programs. I have been a Windows Insider since 2014. I can tolerate bugs and I am willing to clean install every once in a while. Before we get started, I would like to let you know that Harvester is currently in beta. If you don’t like occasional bugs, stay away from harvester. That being said, let’s dive in.
So what exactly is harvester? Why wouldn’t I just use rancher? How do harvester and rancher work together? Let’s start with some basics.
Harvester is an open source hyper-converged infrastructure (HCI) software built on Kubernetes. ~ https://github.com/harvester/harvester
Long story short, it is a simplified version of proxmox or esxi. As I said before, there are not many bells and whistles when it comes to harvester. The main appeal is that it was built to run kubernetes, and it runs kubernetes extremely well.
SUSE has developed several tools that all come together with harvester. Rancher and Longhorn are two of these tools. Rancher can be thought of as a front-end for kubernetes. I previously talked about it in one of my blog posts so I won’t be going into detail here. Longhorn is a block storage solution developed by SUSE. Compare it to EBS from AWS.
But why run harvester? Who would give this up for proxmox?
I would love to say there was an easy answer to this question, but, there is not. I can only explain why I chose harvester over proxmox. I currently have a little 1U server (32 XEON cores 32GB RAM). I primarily use it for my kubernetes cluster which hosts several homelab projects. I used to use it to host pihole but it was kind of a pain to take the sever down since my DNS would go down with it (I switched to NextDNS and I’ll make a post about it later). Now that I don’t have a pihole instance, that basically leaves me with 2 kubernetes master nodes and 2 kubernetes worker nodes. I use Rancher to manage my cluster. Along comes harvester and it is built by the people who made rancher. I decided, why not give it a try! Surely they work well together. Needless to say I am very pleased with the result.
Let’s look at my current setup. In the diagram above, we can see that my 1U server is running harvester. I have 4 virtual machines running on(in) harvester. One of those VMs is my Rancher GUI (frontend). Rancher connects back to harvester in order to use it to spin up kubernetes nodes as harvester VMs. It’s a little confusing but I will try to explain it this way. Think of harvester as a cloud provider and rancher as a kubernetes engine (RKE). Rancher (even though it is running on a VM inside of harvester) calls back to harvester when it needs to create kubernetes nodes. Pretty cool right?
Let’s get started with installing harvester and creating a rancher cluster.
Download the ISO from GitHub and create a bootable USB. I tried using Balena Etcher, but for some reason it did not work. I would recommend Rufus.
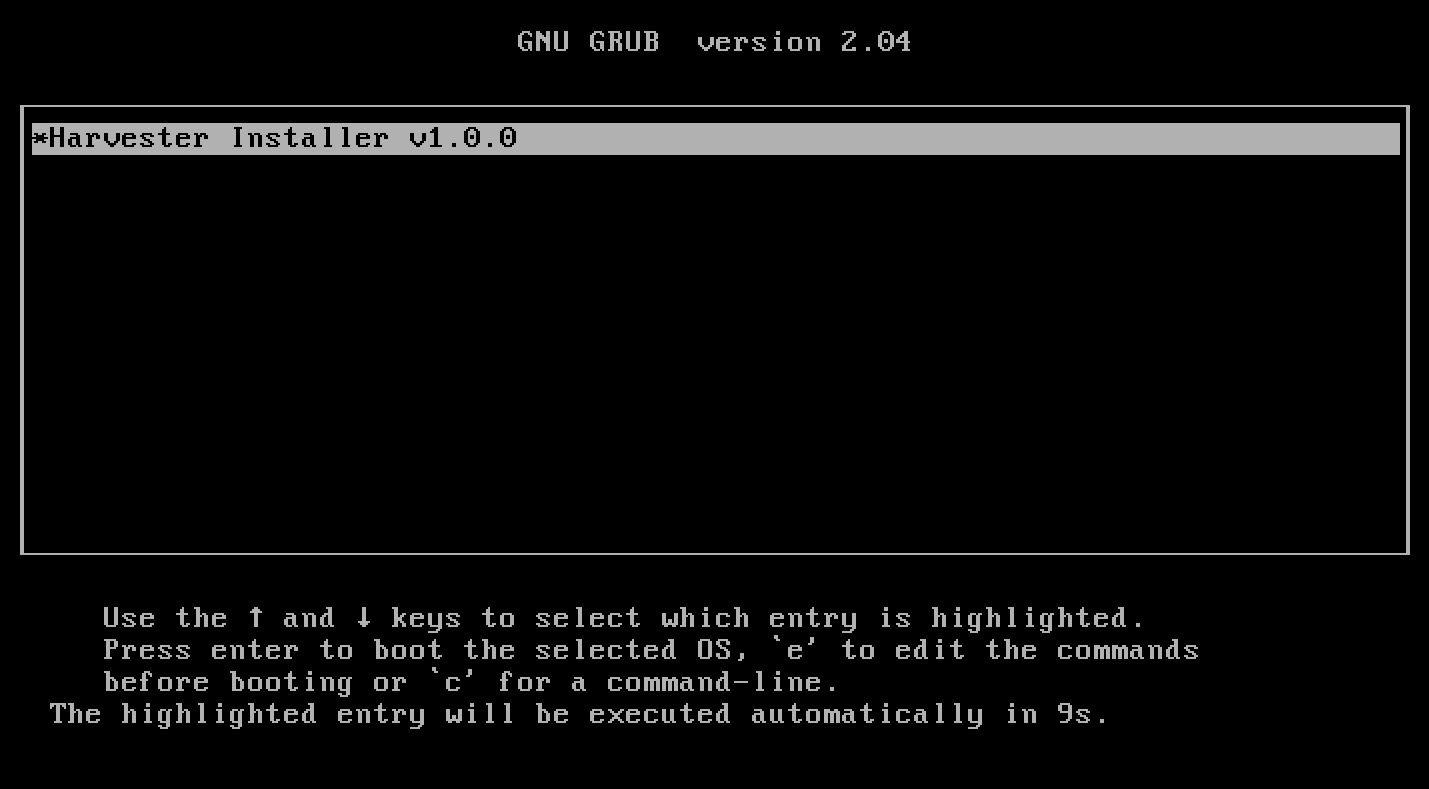
Boot to the USB and run through the installer.
Choose the installation mode by either creating a new Harvester cluster, or by joining an existing one.
Choose the installation device on which the Harvester will be installed to.
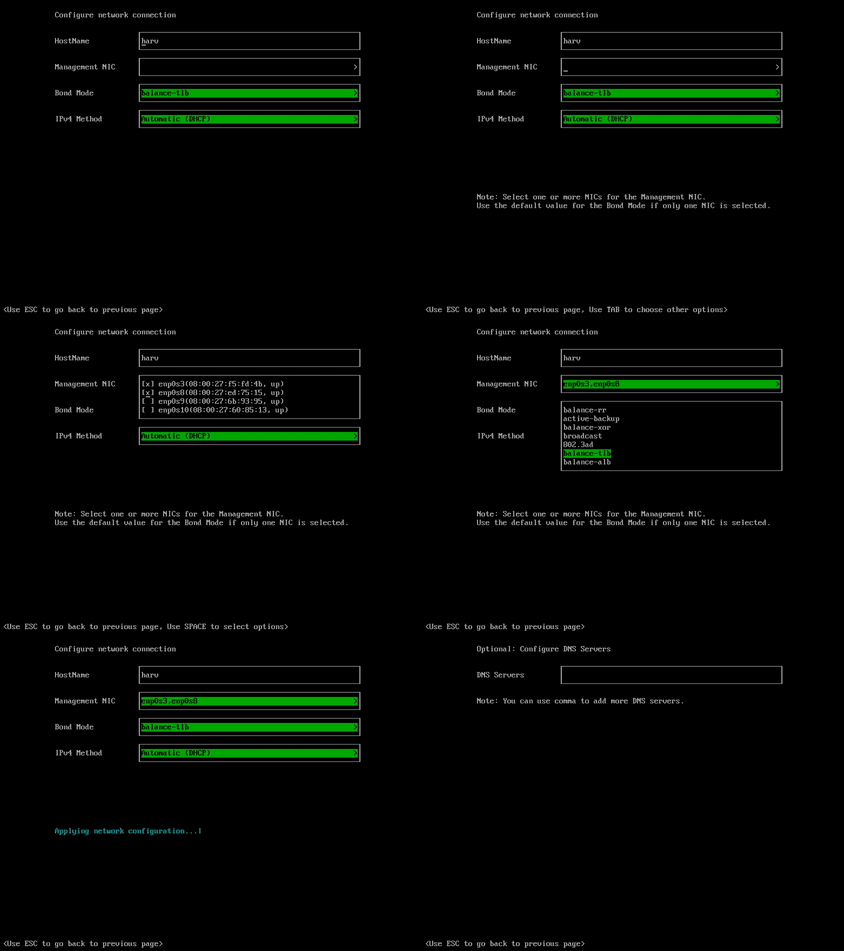
Configure the hostname and select the network interface for the management network. By default, Harvester will create a bonded NIC named
harvester-mgmt, and the IP address can either be configured via DHCP or a static method.The management network is basically a Kubernetes internal network. If you only have one NIC, it’s not an isssue. You can still get DHCP to work with your VMs.
(Optional) Configure the DNS servers.
Configure the
Virtual IPwhich you can use to access the cluster or join the other nodes to the cluster.Configure the
cluster token. This token will be used for adding other nodes to the cluster.Configure the login password of the host. The default SSH user is
rancher.(Optional) Configure the NTP Servers of the node. This defaults to
0.suse.pool.ntp.org.(Optional) If you need to use an HTTP proxy to access the outside world, enter the proxy URL address here. Otherwise, leave this blank.
(Optional) You can choose to import SSH keys from a remote URL server. Your GitHub public keys can be used with
https://github.com/<username>.keys.(Optional) If you need to customize the host with a cloud-init config, enter the HTTP URL here.
After confirming the installation options, Harvester will be installed to your host. The installation may take a few minutes to be complete.
Once the installation is complete, it will restart the host.
After the restart, the Harvester console containing the management URL and status will be displayed.The default URL of the web interface is:
https://your-virtual-ipHit that URL with your browser and hey, you got Harvester installed.
Configure your harvester password and account.
Make sure to uncheck “Allow Collection of Anonymous Statistics.”
Agree to the terms and conditions after reading all of them.
Next we are going to create a VLAN Network since we want our virtual machines to get their IP via DHCP.
Make sure to choose the management network as the default network interface.
Make sure your settings look like this.
Next navigate to “Advanced > Networks” and click “Create”
Name your new network something creative. Create a VLAN ID (any number 1-100 works).
Change the route mode to “Auto(DHCP)” and make sure to include your DHCP Server IP (most likely your router internal IP).
Your VLAN network is now created. It will say DHCP failed since we have not yet needed to request a DHCP lease. When we create virtual machines, we must now select this network in order to get a DHCP lease.
This is the end of part 1 of this post. Stay tuned for part 2 which will go over how to spin up a rancher cluster on harvester.
Thanks all,
Joe


Are you still running harvester?