How to Create a Harvester Template
Simplify the spin up
Tutorial Alert: If tutorials are not your thing, you can skip this article.
In the last post, I wrote about how to deploy Harvester on a bare metal machine. Today, I am writing a shorter article about how to create a Harvester Template.
When I go to provision a VM, I usually use the same exact settings (XGM of RAM, XGB of storage, XCPU cores, etc). I almost always use Ubuntu 22.04 for my VMs. I also almost always use DHCP to grab the IP for the VM. And I almost always use the same username with the same SSH key. I decided that my time would be better spent if I could find a way to spin up VMs from a template. That’s where Harvester templates come in.
Let’s create a Harvester template now:
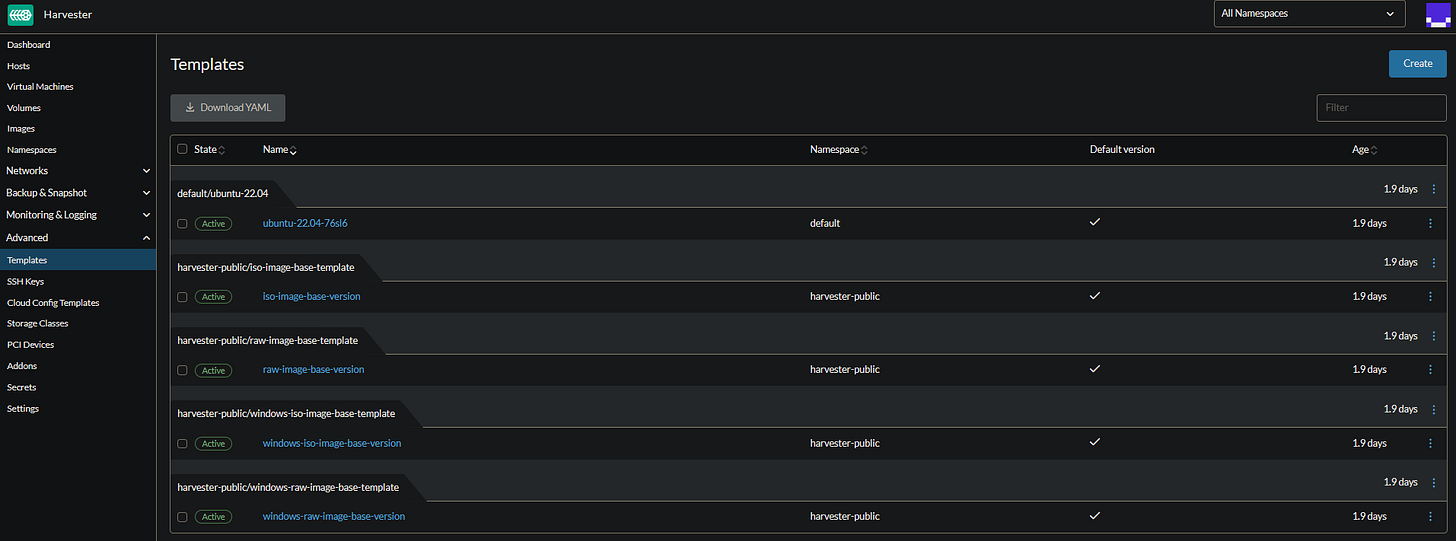
In my Harvester dashboard, I navigate to Advanced>Templates.
You can see that we already have a few templates defined. By default, Harvester comes with 4 templates defined, which we will talk about later. Let’s click on the “Create” button in the top right.
Here I have defined:
The template name
The amount of CPU cores allocated to the VM
The amount of RAM allocated to the VM
The SSH key to use for the VM
Next I have defined:
The ISO image we will attach to the VM (I accidentally attached the wrong image here. I meant to attach the ISO image for Ubuntu Server 22.04)
The boot volume which we will install Ubuntu 22.04 to
Notice that I am using two different volume types. The ISO image is a cd-rom type while the boot volume is a disk type. Also notice that we are using Bus type SATA. You can also use VirtIO or SCSI but in my testing I have had the least trouble with SATA.
Now, we define the network to use. This network is my VM network that grabs an IP for the VM over DHCP. You can add multiple networks.
Since I currently only have one node, I don’t need to worry about where the VM is scheduled to.
Finally, we configure our last few advanced options:
The VM run strategy is set to always
The OS Type is set to Ubuntu
The packages to install are set to include docker
The user and SSH keys are added
Let’s now create a VM using our template.
Click the three dot menu on the template we just made, and choose “Launch instance from template”
Give our VM a name and click “Create”
We will see, “starting”, “starting but Guest VM is not running”, and finally “running”
Success!
Hopefully this was interesting and helps some people.
Cheers,
Joe


