

Installing Harvester on Proxmox
Using netboot.xyz


You may be asking. Why would anyone want to run a hypervisor on top of another hypervisor? There is no good answer to that question. This should not “be a thing.” But unfortunately (or fortunately) I found a way to do it and here’s how.
First, we need to create a VM to run netboot.xyz. I won’t be going too much into detail on how to make a proxmox machine. I am using 2 CPU cores, 4 GB RAM, 75 GB SSD, and Ubuntu 22.04.
In order to run netboot.xyz, you need to install docker. Use this command:
curl -fsSL https://get.docker.com -o get-docker.sh
sh get-docker.sh
After we install docker, reboot the machine and, once it comes back up, we can create the necesary directories and docker compose file.
mkdir netboot_xyz
cd netboot_xyz
mkdir assets
mkdir config
Now, we create the docker compose file:
---
version: "2.1"
services:
  netbootxyz:
    image: lscr.io/linuxserver/netbootxyz:latest
    container_name: netbootxyz
    environment:
      - PUID=1000 #current user
      - PGID=1000 #current group
      - TZ=Etc/UTC
      - PORT_RANGE=30000:30010 #optional
      - SUBFOLDER=/ #optional
    volumes:
      - ./config:/config
      - ./assets:/assets #optional
    ports:
      - 3000:3000
      - 69:69/udp
      - 8080:80 #optional
    restart: always
After we are done with that, we run:
sudo docker compose up -dAnd we should see the netboot.xyz container coming up.

Let’s hit the dashboard at http://<IP OF SERVER>:3000

Amazing. Now we need to configure our DHCP server to allow machines to boot. There is a full guide on how to do this here.
I have a UDM Pro so I will change the following:

This is the IP of my netboot.xyz server and this is the default BIOS option. We are done with netboot.xyz for now.
Next, we need to create a Harvester VM on Proxmox and make sure to boot it to the network.

First we name the machine.

Next, we choose “Do not use any media” since we are booting from the network.

We keep these settings as default for now.

We add a SATA disk. The disk has to be greater than 250 GB.

We add our CPU cores. We also change the type to “host.”
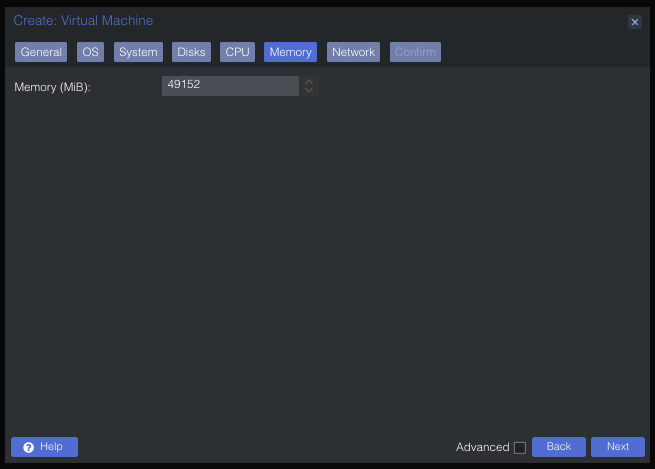
I allocated 48GB of RAM.

We keep all settings as default. If you have a VLAN you will specify that.

We make sure that “Start after created” is not selected and we hit “Finish.”

We now change the boot order to make sure we are booting to the network first. After we do this, we can turn the machine on!
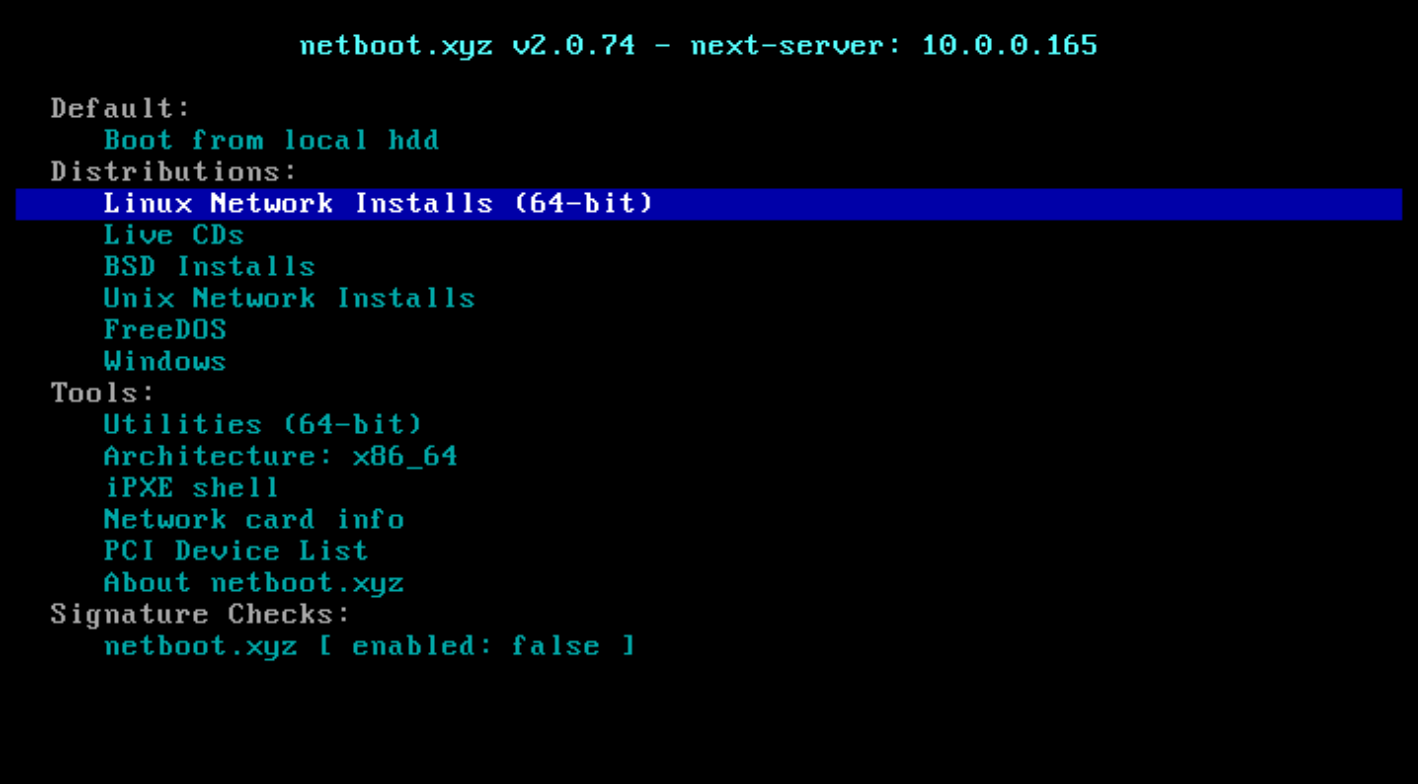
After some time, the console will show this. Choose “Linux Network Installs.”

Choose “Harvester” and continue to booting Harvester.
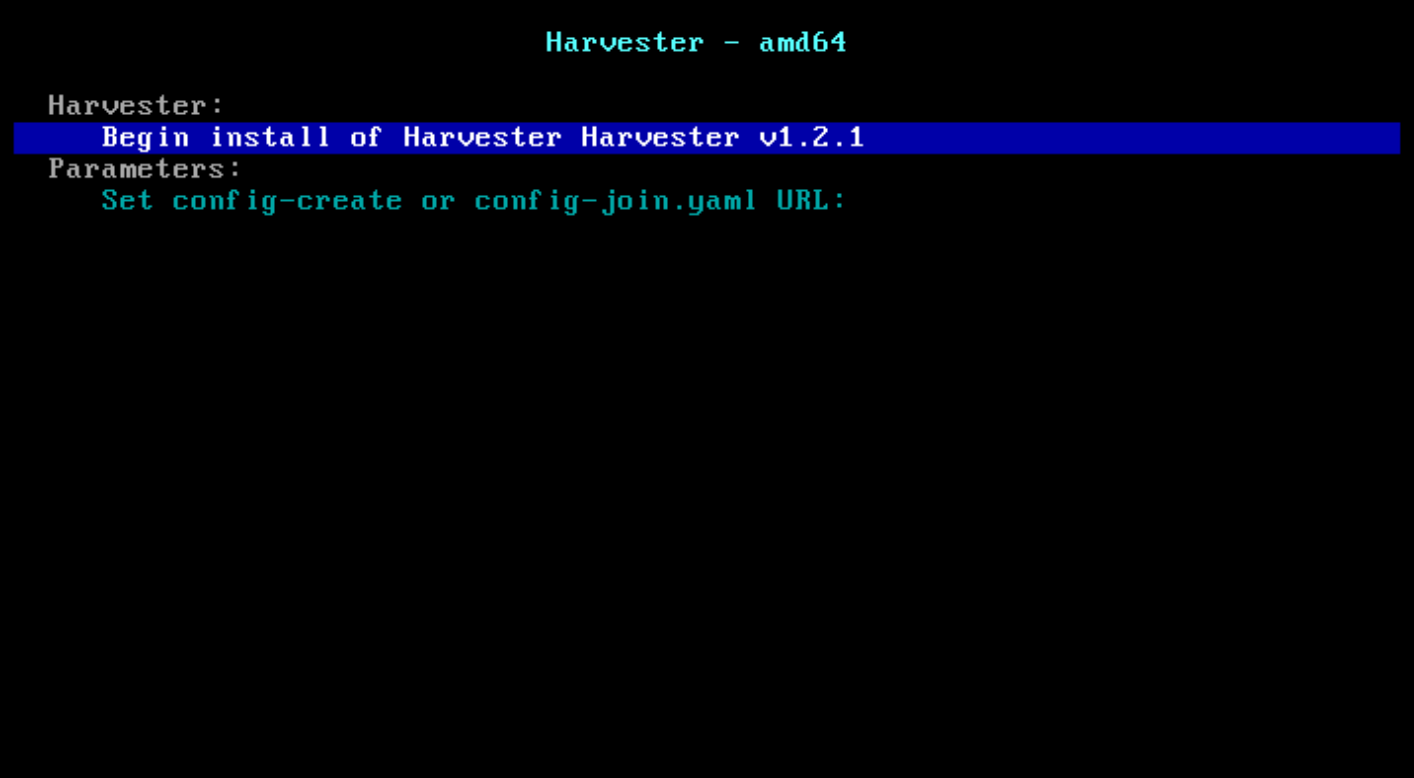
Choose “Begin install…” to kick off the install. The netboot.xyz machine will now download the necesary components to run Harvester. You should soon see this:

Amazing! Now we just need to configure Harvester and we are set.


Hopefully you found this interesting.
Cheers,
Joe