Installing Harvester-v1.1.2 on Bare Metal
An updated guide on how to install SUSE Harvester on Bare Metal
Well, it has been a while since I first wrote about installing Harvester on my home server. It has actually been more than a year. I wrote my first article on Mar 17, 2022. SHEESH! How time flies! In that article, I installed Harvester V1.0.0. The current version as of writing this article is Harvester V1.1.2.
A few things have changed, and I decided to write a full install guide with updated instructions and suggestions. With that being said, let’s get straight into it.
As a reminder, I will be installing Harvester on my home server which is a little 1U Hyve Zeuss (32 XEON cores, 64GB RAM, and a 500GB SSD).
First, we will need to download the ISO. Currently, Harvester v1.1.2 is still in pre-release but since we are on release candidate 6, I am pretty confident that most of the bugs have been squashed.
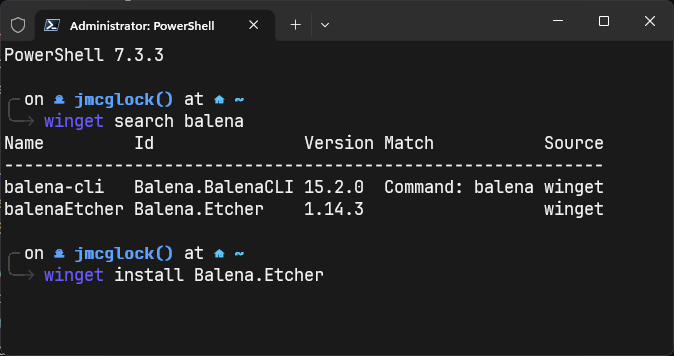
Next, we will need to create a bootable USB. I almost always use Rufus, but for whatever reason, I have had issues with using it to make harvester installer USBs. I would recommend Balena Etcher. If you don’t have Balena Etcher installed, you can grab it here, or you can use winget to install it (I really like winget!):
I have also had issues with SanDisk USB drives. Maybe use another brand. I am using a PNY USB.
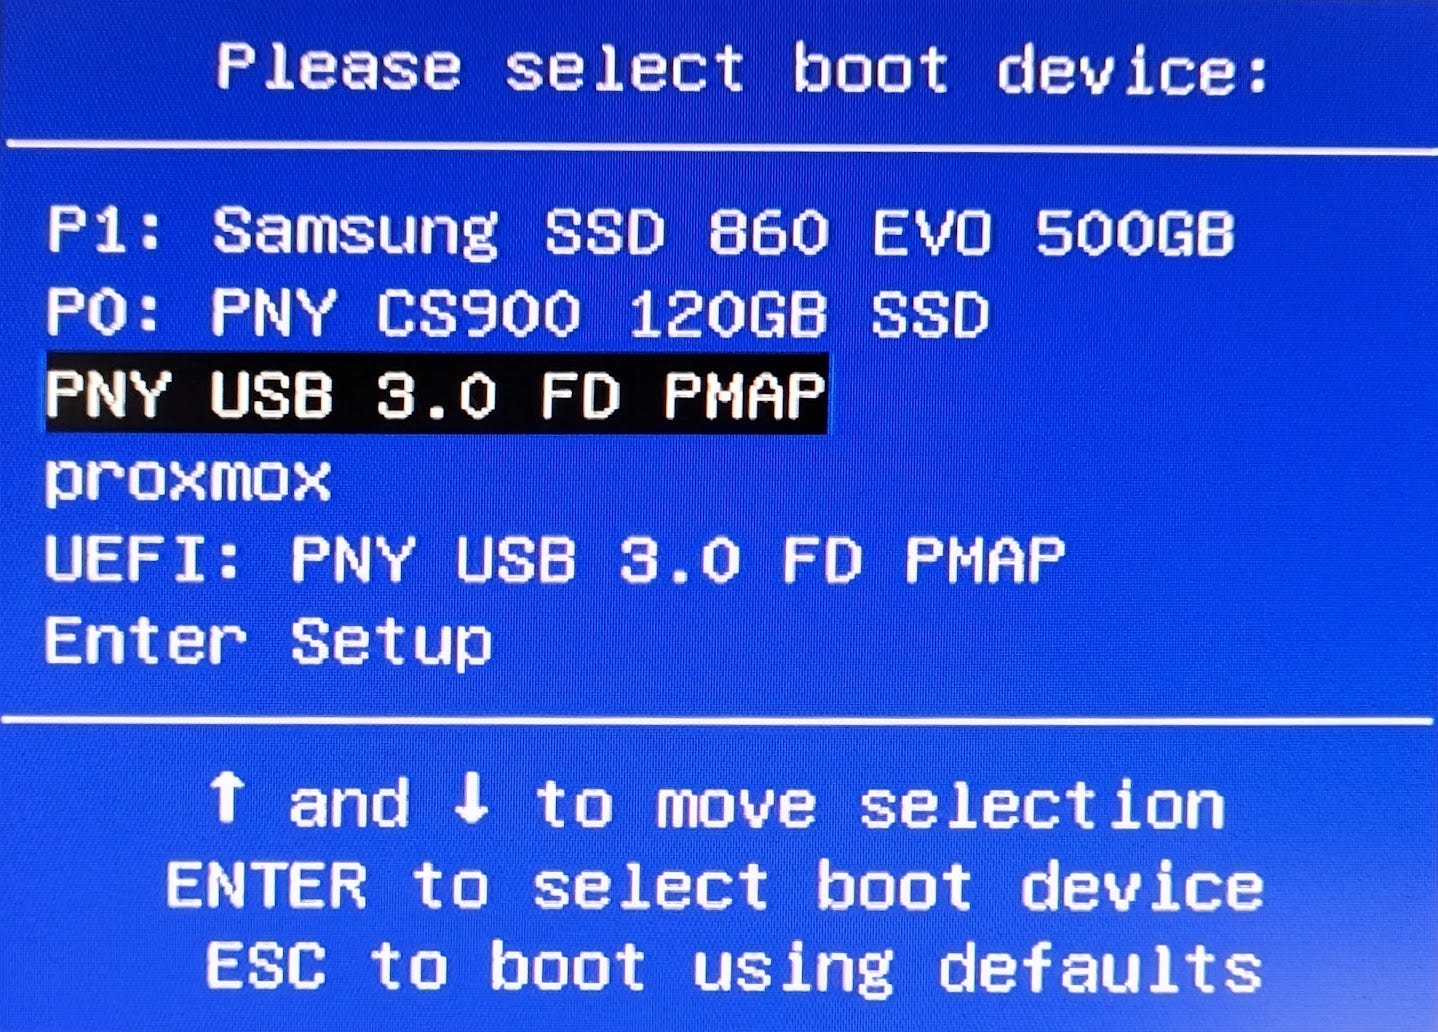
Now that we have created our bootable USB, let’s power down our server and plug your new USB in. On my server, I have to smash the F11 key during boot in order to bring up the boot options.
Select your USB as the boot devices and let’s start the installation.
The first screen of the installation wizard will look like this:
The whole idea of Harvester is to create compute node clusters. A proper installation would have three compute nodes in an HA cluster. You would first create a node which would be the master or parent, and all subsequent compute nodes would then join that master node to create a cluster.
Since we have 1 server and no previous nodes, let’s choose “Create…”
Next, we will choose where to install Harvester.
I have two disks, one is the “boot disk” which is the smaller 125GB drive, and the other is the “vm data” disk which is the 500GB drive. For whatever reason, it also shows the USB we are booting off of as a possible installation target. Almost 100% of the time your will choose sda.
Next, we choose the drive to store the VM data on.
After that, we come up with a creative name for our node. I named mine “whiterose.harvester” (Mr. Robot reference).
Next we configure our network settings. Let’s talk about it first. Harvester has a weird but great networking system. The documentation is a tad confusing in this department but here is what I figured out.
There is a default “management network” which is basically set up for node management and node-to-node communication. Makes sense, right? Next, we have the network that the VMs use, which is separate from the management network. In my case, my management network uses DHCP to allocate my node IP. I also use DHCP for my VM network. So, there are two different logical networks, but one physical network. If you want to take a look at their diagram you can. Here it is:
Yeah… Kind of dense.
Let’s jump back into the installer.
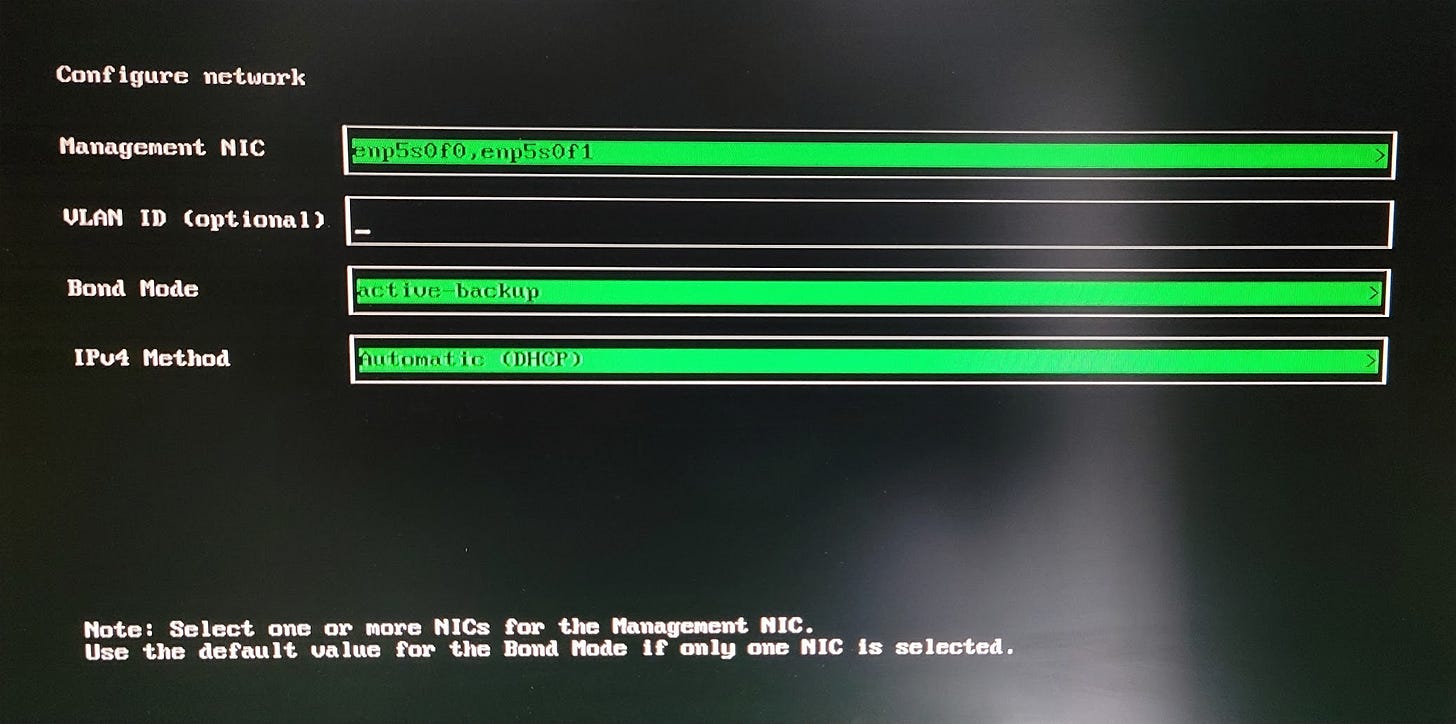
I have a dual nic on my server, this means that I can use both to create a “bonded” redundant network connection. By default, Harvester will create a bonded NIC named mgmt-bo, and the IP address can be configured via DHCP or a statically assigned one. If one nic goes down, it shifts to the other. I also do not have a VLAN ID for my network. I am getting my IP address from DHCP as discussed above.
Next, we set our DNS server. I chose to not add anything in this box since I switch back and forth between DNS providers.
Now we let DHCP allocate a VIP.
What is a virtual IP? It seems to be the IP which will be used to access the Harvester dashboard.
Harvester documentation says: “Configure the Virtual IP which you can use to access the cluster or join other nodes to the cluster.”
Moving on now. Our next few windows are not that important:
Choose a cluster token
Choose a password
Choose a time server
No need to configure a proxy
You can import your ssh keys
I would like to mention the importance of the “Optional: Remote Harvester Configuration” choice. If you want, you can provide a config file that configures a ton of settings. I would highly recommend doing this but it is not necessary.
We have gotten to the last screen! Choose to install and get ready to boot back into Harvester. The install can take as long as 10 minutes in my experience, so let’s go over some more things you will need to change specifically in your network.
You will want to make the IP addresses for your node and for your VIP fixed. I have a UDM Pro and this can be done rather easily.
You may want to create a rewrite at your DNS provider level so that you can hit the dashboard at a nice URL and not at the VIP. I am currently using NextDNS so my rewrite will look like this:
That way I can hit my dashboard at https://harvester.mcglock (yes I should have an SSL certificate set up but that’s a project for another day).
Jumping back to our server, we have now installed Harvester and it has rebooted itself. You will see the following screen:
Notice that the management URL is still unavailable. This usually takes a few minutes to get set. Let’s wait till it is available. Sit and admire the ascii art.
As a note, if I go now and hit the node IP of 10.0.0.64, I will be greeted with:
WAIT WHAT? RANCHER?
Yes so… Here is how it goes. Harvester is running on top of Rancher. The whole idea of harvester is to create VMs that are running on Kubevirt (Kubernetes). We will discuss this in the next post. Someone really needs to do a deep dive into Harvester and explain the product in a way that makes sense and doesn't bore the audience. I will attempt to do just this in my next article.
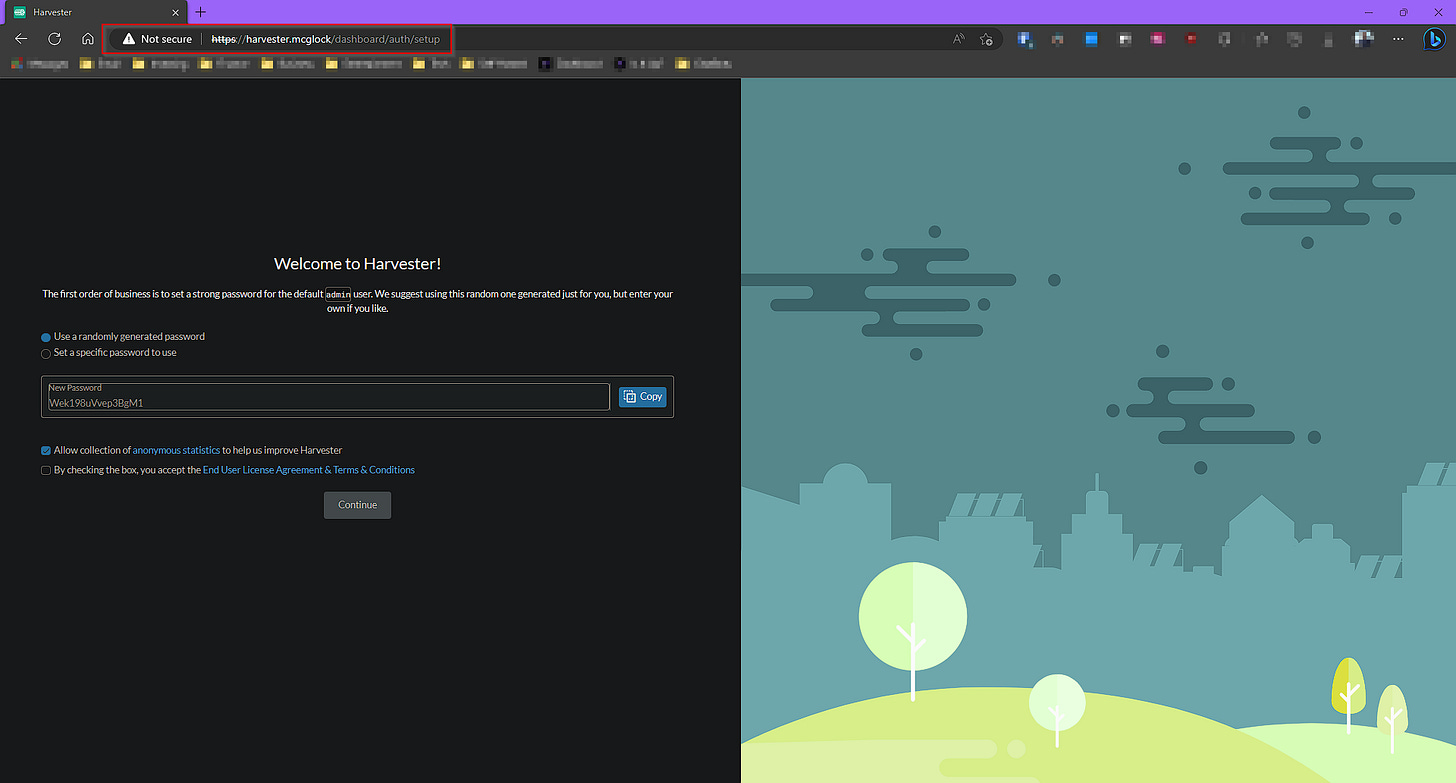
My server is now showing that is “Ready” and if I hit that URL:
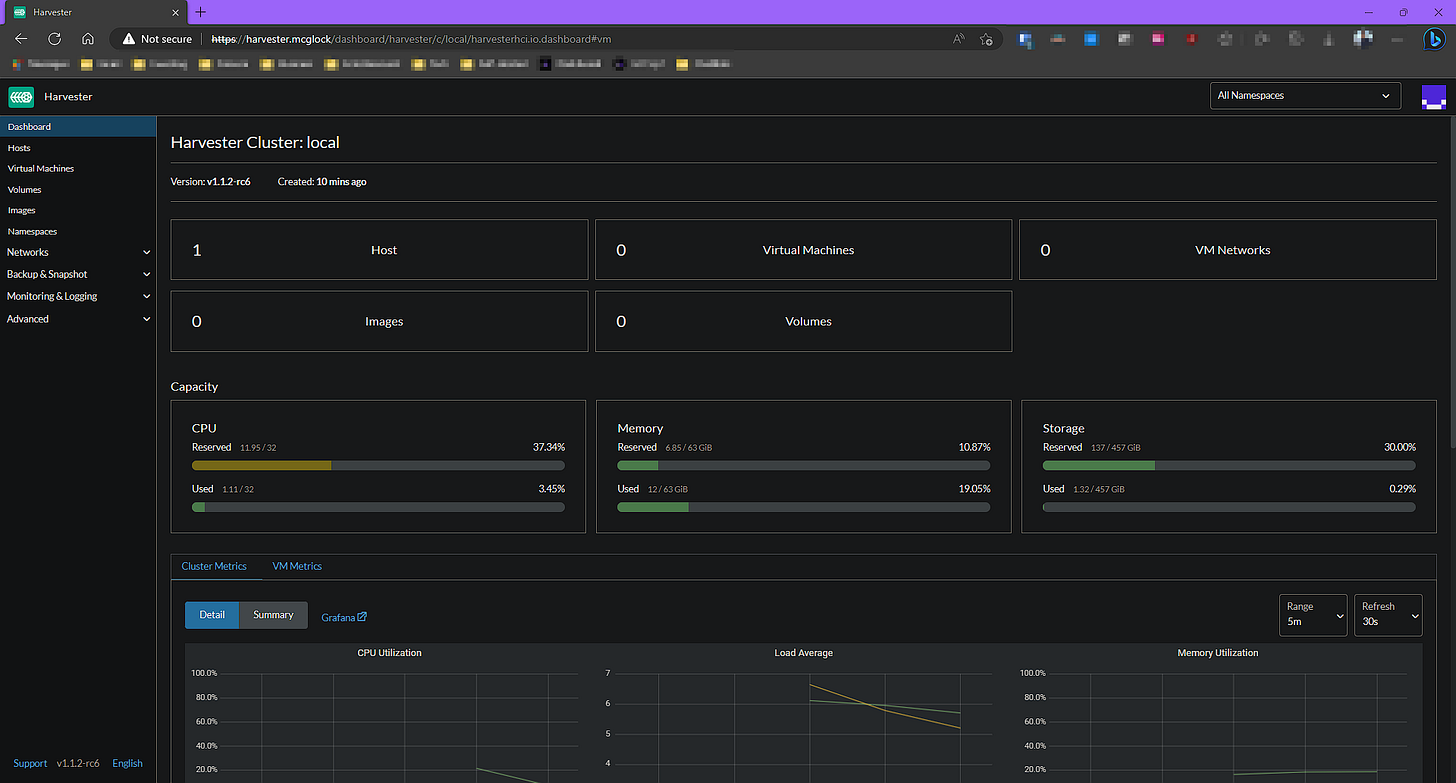
LESGO! Harvester is installed. I created a simple password, and we are in.
Welcome to the Harvester dashboard.
One last thing before I end this post. A lot of my readers have asked me how to create that VM network that I talked about earlier. Let’s walk through that process now.
Go to “VM Networks” and choose “Create”
Fill in the following
Note that we chose “Auto (DHCP)”, and we put the DHCP server IP there.
Click Save
If you see “DHCP Failed” in the Route Connectivity column, don’t worry. This is normal. As long as you created everything correctly, your VMs will be able to get IP addresses using DHCP.
I will have to end this post, but I will have a follow up post which explains Harvester more in depth. I will also show you how to get VMs up and running and how to get a RKE cluster going.
Cheers,
Joe


