


Running a Kubernetes Cluster Using Harvester and Rancher 🚀
Part 2

In the previous post I went over how to install and set up harvester. Now, it is time to connect rancher to harvester.
We have to create a Linux virtual machine in order to run the rancher frontend. I choose to use ubuntu 20.04 but since rancher runs on docker, you can use pretty much any distro you like.
In order to create a Linux virtual machine you will need an ISO and you’ll need to upload this image to harvester. To upload the ISO:

Navigate to “Images” and click “Create”. It is pretty self explanatory as to how to upload the image so I won’t be covering that here. As you can see I have a few images uploaded.
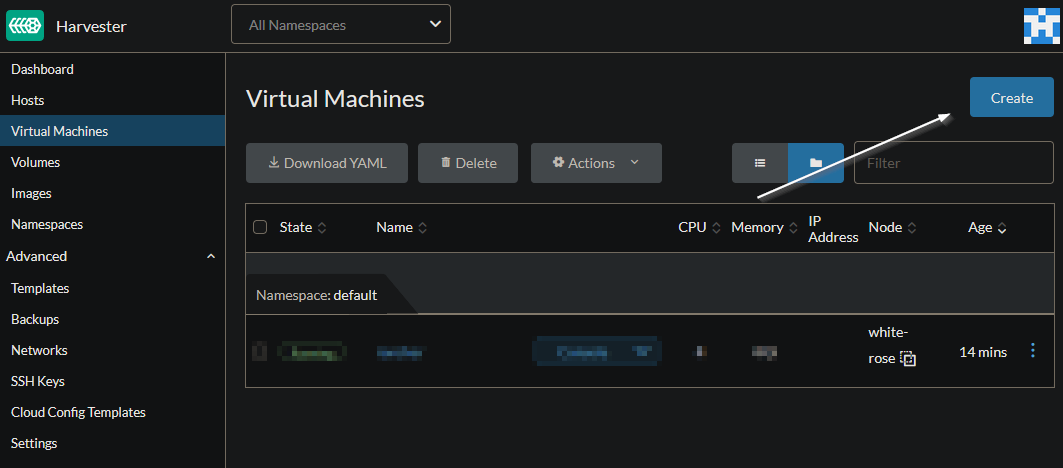
Navigate to “Virtual Machines” and click “Create.”
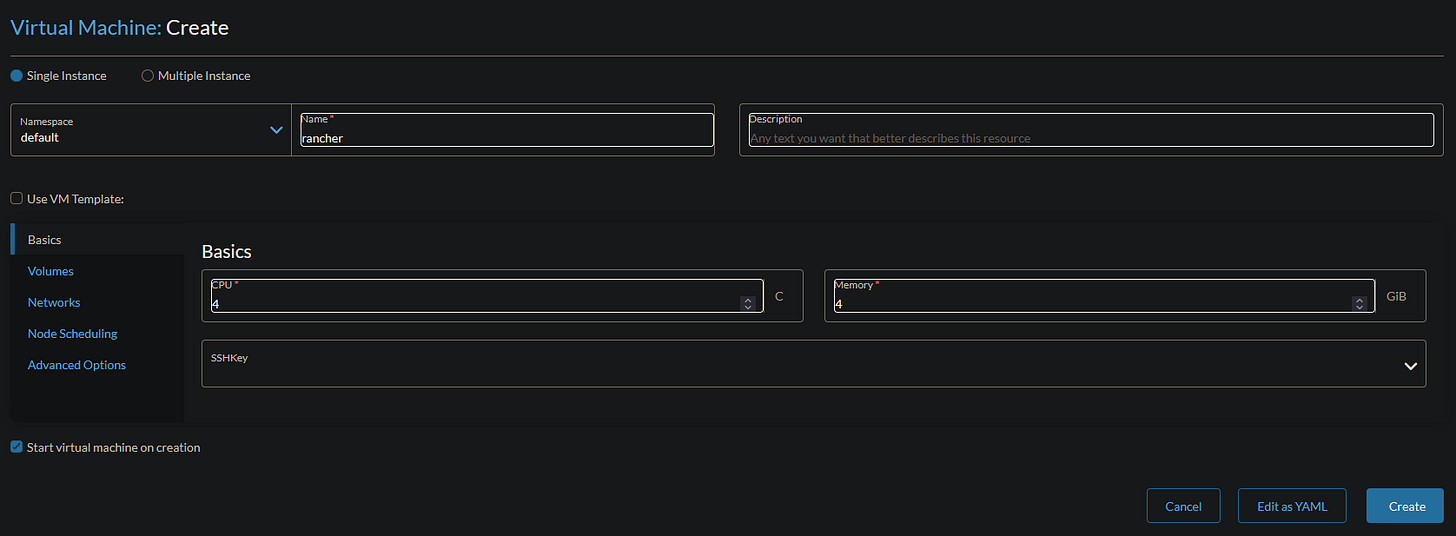
As you can see I am giving this virtual machine 4 CPU cores and 4 GB of RAM. Make sure to name the machine as well.

This is where it can get tricky. In order to boot to the ISO image, we need to add it as a volume and set it to first in the boot order. Make sure that the type is set to “CD-rom.” Also make sure to attach a second boot volume (you need to install Linux to a volume lol).

For network, make sure to choose the DHCP network that we set up in the previous post. This will allow your vm to get an IP via DHCP. This is no need to change any other settings here.

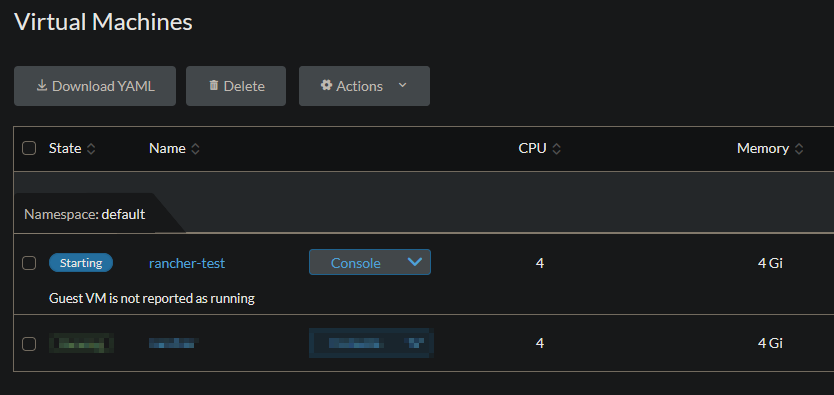
Click “Create” and watch your vm boot up.

You will see “Starting” for a few seconds.

Once your vm is running, hover over “Console” and choose “Open in Web VNC.” This will open a new browser window with console access.

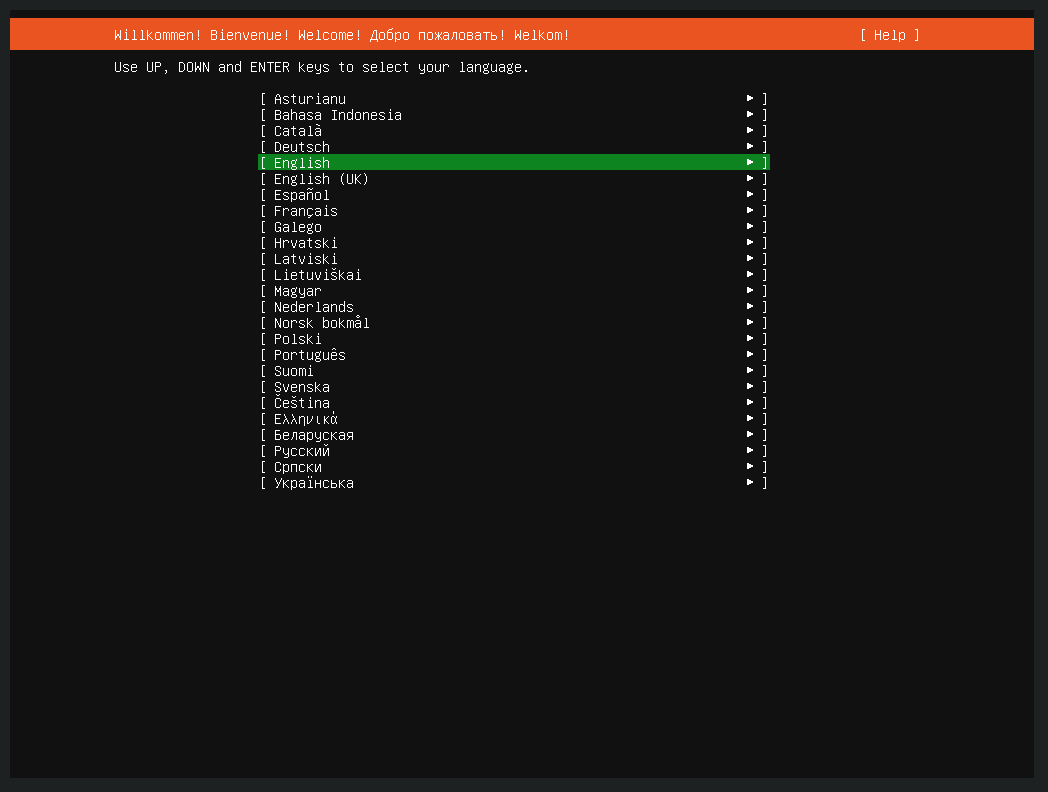
Run through the Ubuntu installer and wait for the installation to complete.
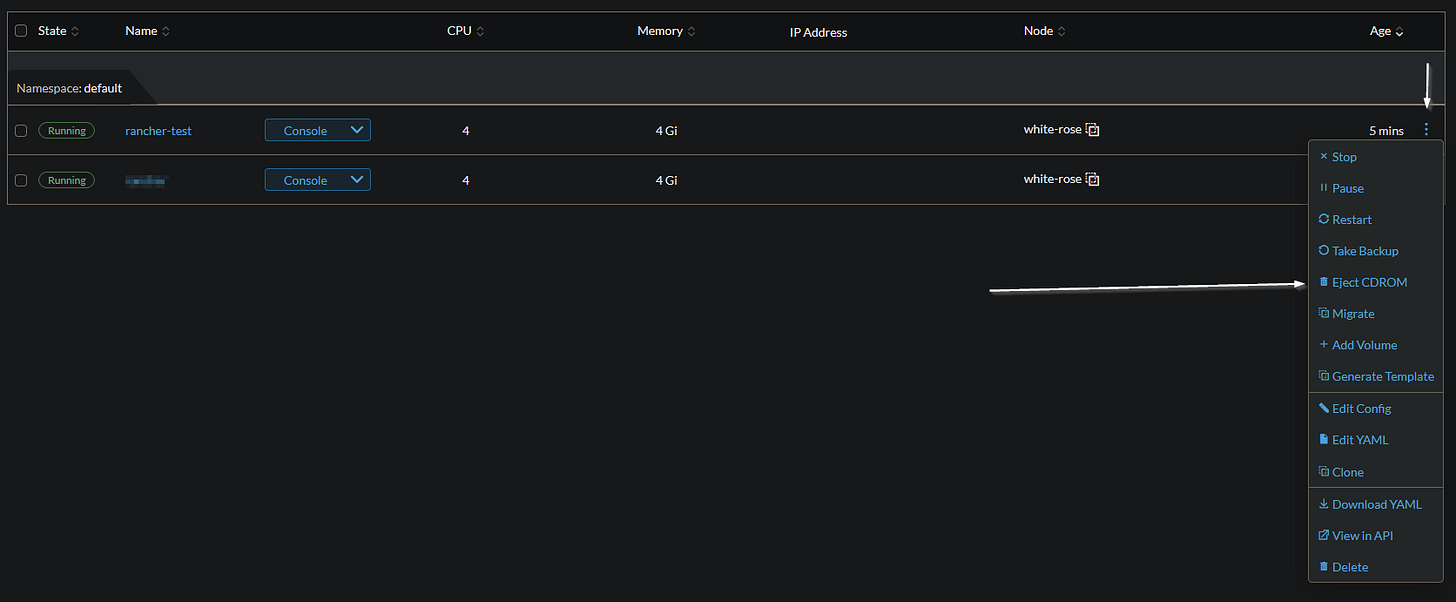
After the installation has completed and you are prompted to reboot, go back to the harvester UI and choose “Eject CDROM.” This will restart the vm and since the CD-rom is no longer the first boot disk, it will boot straight to Linux. After the new vm has started, you can SSH into it using your terminal (I use Termius and its amazing).
We need to now install docker on the vm we just created. First run the following:
sudo apt update && sudo apt upgrade -yNext, run the following:
curl https://releases.rancher.com/install-docker/20.10.sh | shFinally, run:
sudo reboot


After the vm is back up and running, log back into it and run the following:
sudo docker run --privileged -d --restart=unless-stopped -p 80:80 -p 443:443 rancher/rancherThis will install rancher on the server. Note that is runs on 443 for https and 80 for http.
After we have rancher installed, navigate to:
https://<rancher-vm-ip>You should be greeted by the following page:

Head back to the terminal and run:
sudo docker ps -aNote the “CONTAINER ID” and copy the command from the rancher page that starts with “docker logs…” replacing “container-id” with your container id.
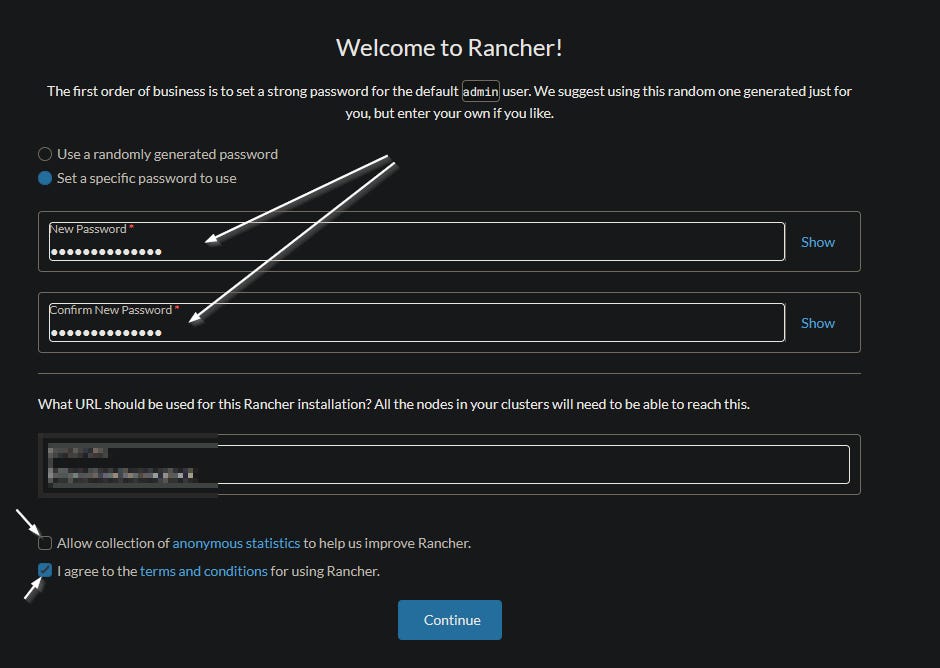
Copy the “Bootstrap Password” that was spit out after running the previous command and paste it into the “Password” input box shown.
Next, you can use a custom password to sign in.

Make sure to uncheck “Allow Collection of anonymous…” (we don’t like sending telemetry here).
Click “Continue” and voila! We have Rancher installed on a vm inside harvester.

Now we are going to connect rancher to harvester.
Navigate to “Virtualization Management” and click “Import Existing.”
After naming your harvester cluster something, click “Create” and you will see the next page.

Head back to harvester and navigate to “Settings” and edit “Cluster Registration URL.” Input the URL that was shown in rancher, save, and head back to rancher in your browser.

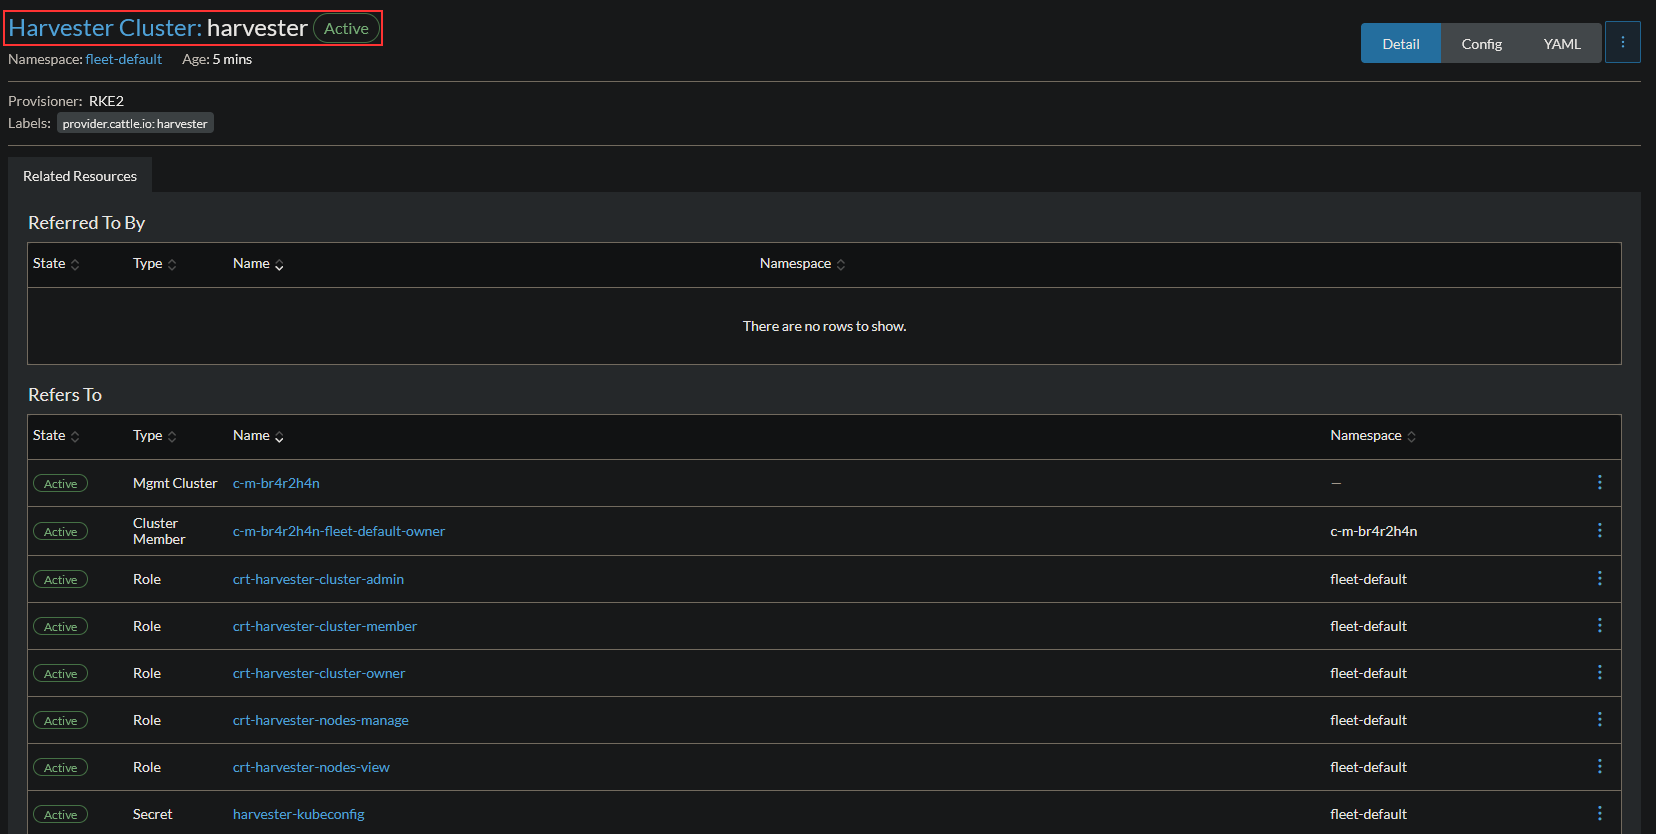
After a few minutes you will see the page get updated:

Rancher is now connected to Harvester.
In the next post, I will go over how to create a cluster and what types of clusters run best on harvester and rancher.
Did Part 3 ever release?
IT WORKED!!!!
Thank you! I've been fighting proxmox and rancher on and off for a week.
Wiping it all and using Harvester took an hour and is far more efficient.
All but the networking in part 1 was still up to date.